I often prefer to use Net Votes per Election District, as this more clearly shows were a person lost and won the race, because Turn out can very quite widely from Election District to Election District. Moreover, some Election Districts are more populus then others.
Turn out was particularly high in districts that Sandy lost, particularly in Westerlo ED 3 (Dormansville), one of most conservative EDs in Albany County currently.
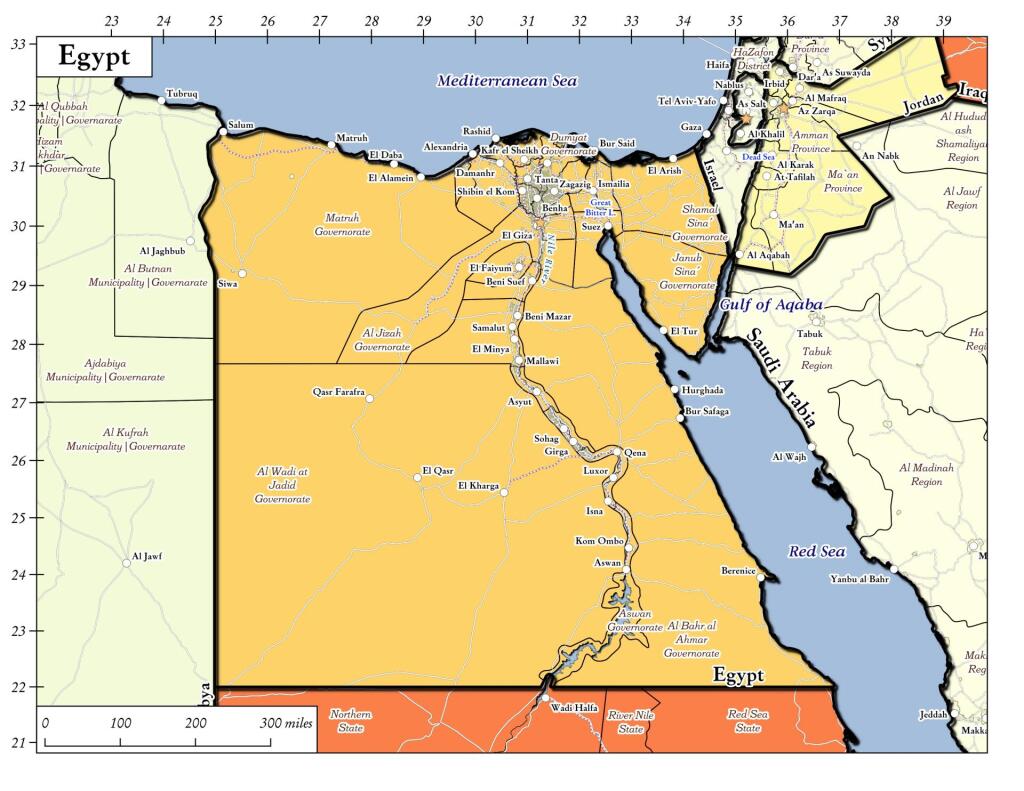
This map shows the Average Democratic Preformance of Statewide candidates by 2010 Voting Tabulation District, with the 2011 County Leg districts superimposed. Be aware that all statewide Democratic candidates preformed quite well across 2010 Albany County,but it also shows the weakness in Dormansville (Westerlo ED 3), and Cooksburg-Preston Hollow-Potters Hollow (Rensselearville ED 2). The entire district was and is marginal Democratic, and can easily swing into the Republican column.
.
While Sandy Gordon got a higher percentage of votes on Democratic line then Debra Bush on the Republican line, the heavy Conservative-block vote in Renselearville EDs and South Westerlo (ED 1) provided a margin of victory for Debra Bush.
Sandy Gordon lost 2/3rds of Knox in the redistricting. He preformed worst in the new portion of the district — specifically Westerlo — and failed to hold onto Renselearville.
While he faced a Tea-Party Movement in Renselearville that organized against him, if he had spent more time going door-to-door in this portion of district, along with introducing himself to Westerlo voters, he may have been able to hold on to his seat.
Regardless, it was tough year for Democratic Incumbents, especially those with a long record and many difficult votes to face, such as over-riding the tax-cap, which will hurt rural residents and those of the hilltowns who own a lot of land hardest.
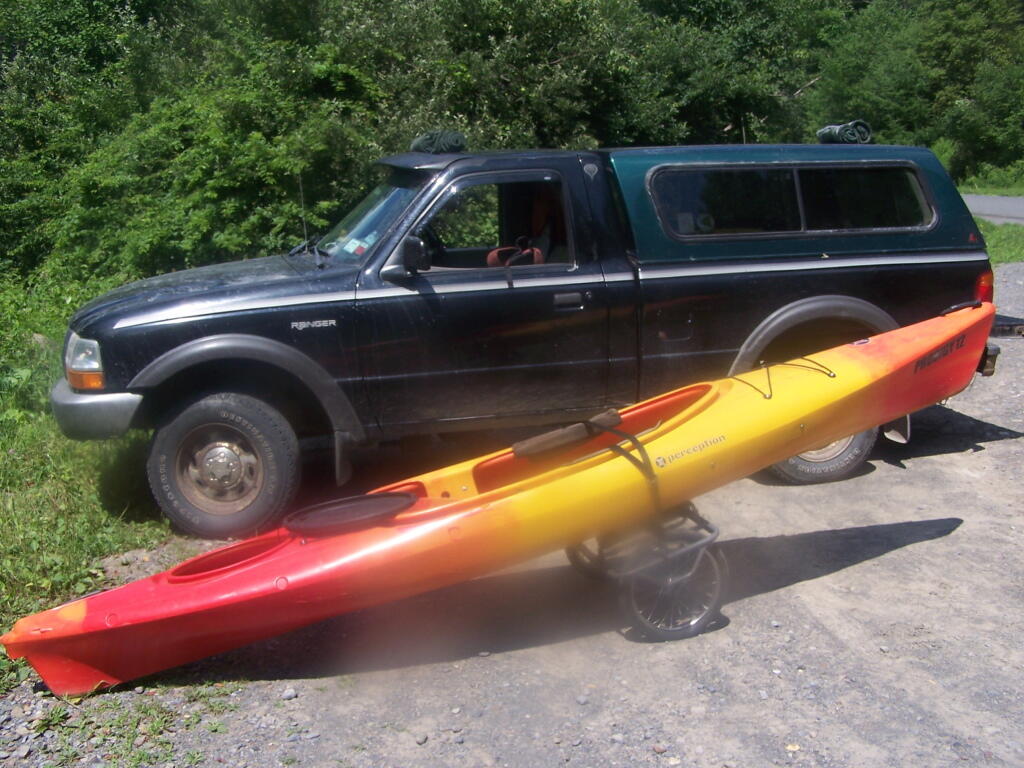
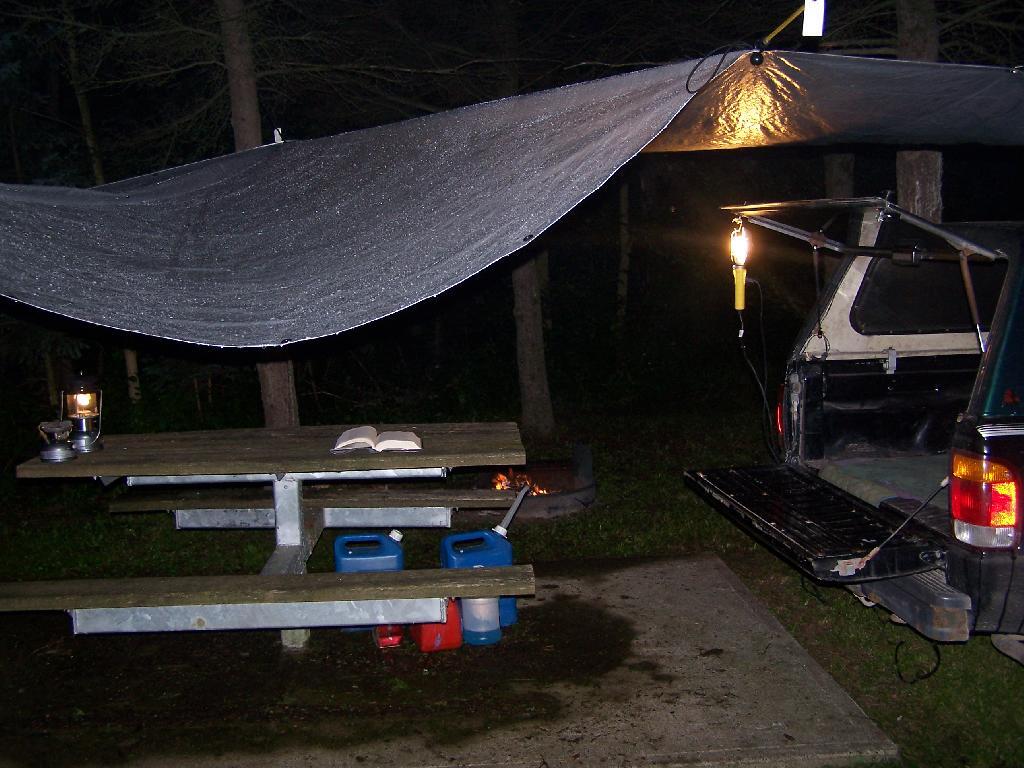
The second part of the series I’ve written on Truck Camping deals with the use of electricity and inverters. The first article is about the truck I currently use for camping and my future plans. A third article is coming soon.
A Must Have:
An Inverter for Household Electricity.
No truck camping set up is complete without having access to electricity. Foruntately, we live in an era with inverters, that quietly turn the 12v electricity from your truck’s electric system and battery into household electricity. They make no noise except for a low hum of the cooling fan in the inverter, that keeps the transformer from overheating. The silence is nice compared to noisy, smelly, and bulky gasoline powered generators some people use to power their camping equipment.
Inverters are now inexpensive. I am a fan of the Vector Inverters from Pepboys. I currently use a $75 dollar, 800 watt Vector inverter, which is large enough to power a small dorm-room refigerator or a microwave, although I don’t currently use either one of them. I previously had $35 dollar, 400 watt Vector inverter from spring 2004 to fall 2008, but I replaced it as I thought it was broken, even though the real problem was the electrical line from the truck battery to the inverter had broken, shorting out and blowing the in-line fuse.
Managing Your Battery Load:
Idle Your Engine Every 2-3 Hours for 10 Minutes.
One of the reasons that I bought the 800 watt inverter over the 400 watt inverter was for the built-in Digital LED voltage meter. Few things are more critical when camping, then to ensure you have sufficent cranking battery power to start up your truck in the morning. When the battery voltage gets below 12.0 volts unladen (ie. with your electrical load unplugged), you know you should start the truck up for 10 minutes to ensure the battery charge is maintained.
I’ve discovered that idling the truck for 10 minutes every 2-3 hours of moderate load (50-200 watts draw), ensures your battery remains a strong charge for starting even in cold weather. Their should be sufficent charge at all night for camping, and powering a florescent reading lamp, alarm clock, and other small devices (20-30 watts), although one should always start the truck up 10 minutes before bed to ensure the a sufficent charge come morning. For heavier temporary loads, like running a microwave or toaster, it’s probably best to idle your engine while in use, and few a few minutes there after to ensure a strong battery charge.
The colder the weather the quicker the discharge and the more power you need for starting, however if you keep the battery meter above 11.8 volts, there should be sufficent charge. Most inverters will shut off at 11.7 volts, however, this in many cases is not sufficent power for starting a cold engine, and risks damaging a typical truck starting battery through warping the electrode plates.
We are often educated to think idling a car is wasteful and consumes large amounts of gasoline. Indeed, idling a car without purpose, or even to warm up a car (for the engine’s sake), is wasteful of gas. However, idling to charge a battery uses minimal gasoline, my Ford Ranger uses maybe a 1/4 gallon of gasoline per day camping, just to generate electricity. Modern engines have little drag at idle, and therefore consume minimal energy running the alternator and other equipment when parked.
When in doubt, idle. It’s uses minimal gas and a lot easier then having to jump start in the morning.
Have A Back Up Plan:
For a Dead Battery.
Don’t go alone without a plan in case you have a dead battery in the morning. If your traveling with buddies who also have pickup trucks, then just make sure you have jumper cables. Be aware that smaller cars will not be able to neccessarly provide the power you need to jump start your truck, especially in cold weather due to the amperage requirements.
If your traveling alone, bring another battery to jump start. I currently use a Vector “Hot-Shot” Emergency Battery Jump Starter Kit that I bought for $40. It is a stand-alone battery that you charge in advance, and in case of emergency, you hook the jumper cables built into the “hot-shot” battery to your truck’s battery, providing the extra current needed to turn over your motor.
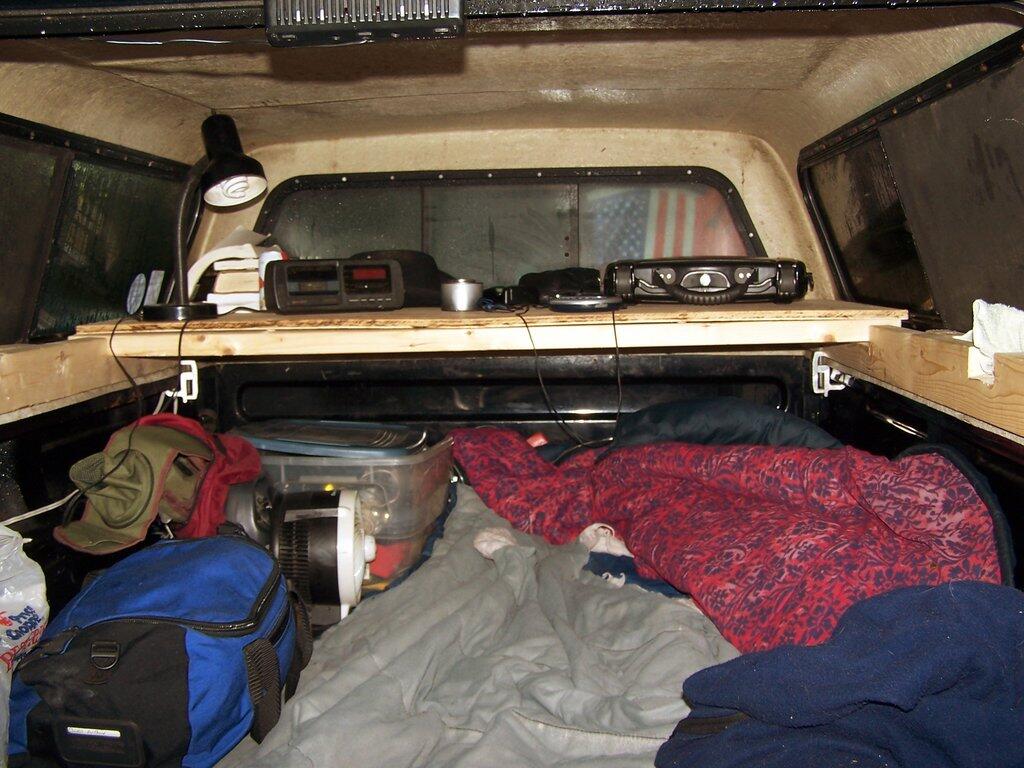
I currently store the “hot-shot” behind the driver’s seat in the cab. It’s 12 volt trickle charger cord is currently hard wired into the line that provides power from the main truck battery to the inverter. I unplug the “hot-shot” charger cord from the inverter power line when using the inverter, to keep the inverter from robbing electricity from the “hot-shot” when camping. Otherwise, when I’m driving, the “hot-shot” is constantly getting trickle charged at the proper voltage, controlled by the truck’s built in voltage regulator in the alternator.
Previously I had a transformer cord that I used to charge the “hot-shot” at home, but it got accidently destroyed, and I figure it’s smarter to have the “hot-shot” in the truck at all times and persistantly charged.
Future Set Up.
When I get my next pickup truck, a full-size truck, with more room under the hood, I plan to have a second battery installed under the hood. This will be a marine or deep cycle battery, designed to provide longer battery charge for powering the inverter, providing more electricity for longer periods of time. Likewise, due to the thicker plates of a deep cycle battery, it’s unlikely to be destroyed by the use of
The deep-cycle battery will be electrically isolated from the main starting battery using a device called a battery isolator, which is a block of diodes. While the truck’s alternator will provide electricity to charge the deep cycle and starting battery, the isolator prevents the deep cycle battery from stealing electricity from the starting battery.
In addition, I’m considering getting a set of low-cost 50-watt solar panels, to provide about 10 amps of 12vdc power through a solar charger, to feed into the battery isolator when the truck is off. That said, I’m not sure if it’s cost effective compared to simply idling the truck when the battery is low.
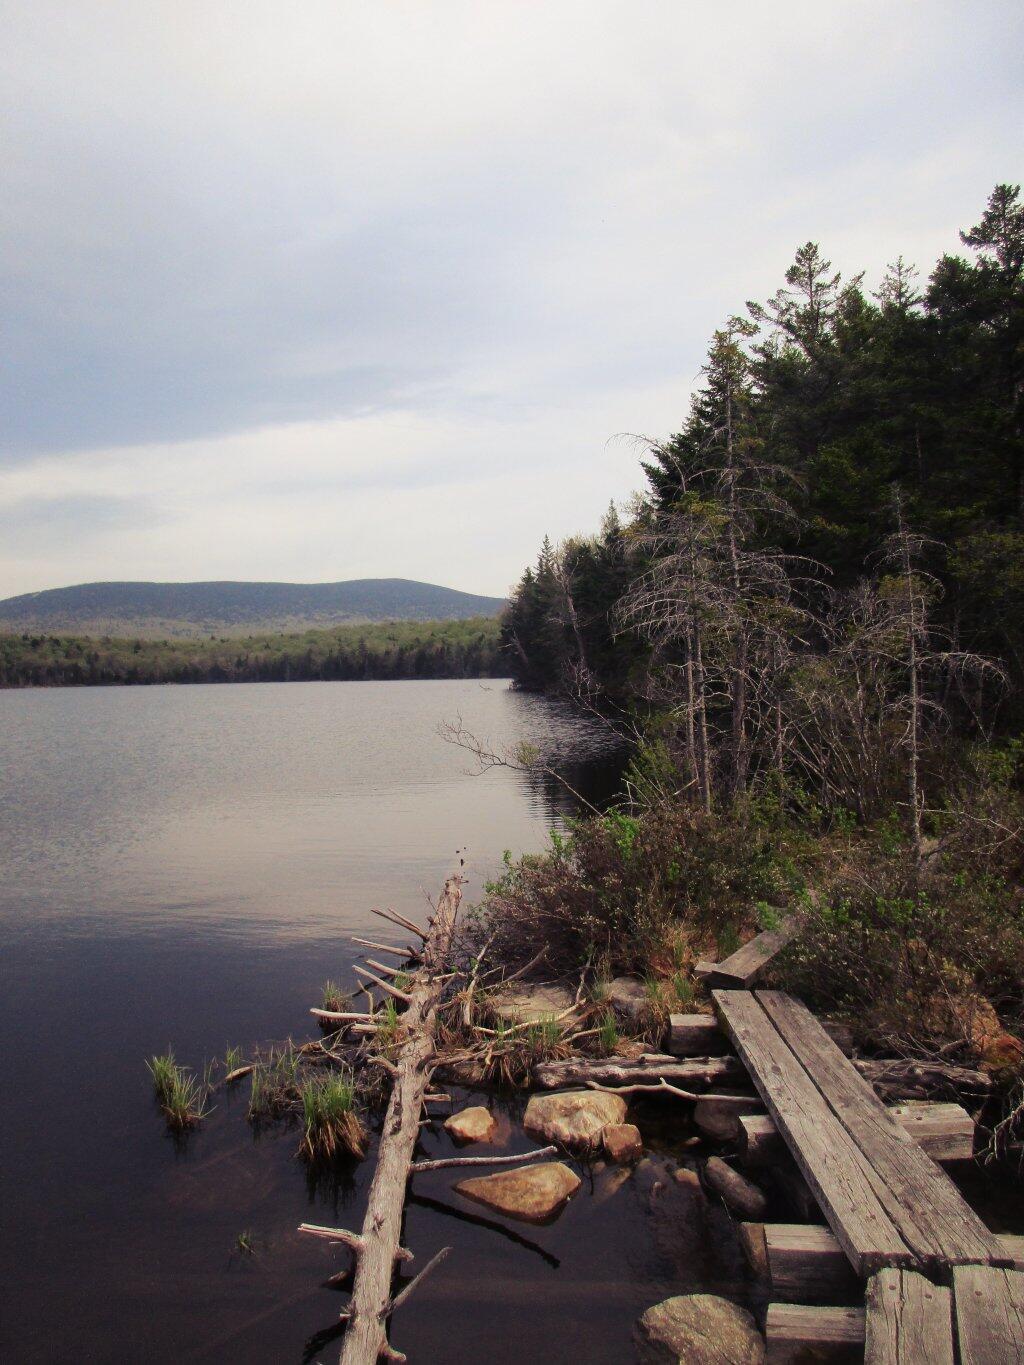
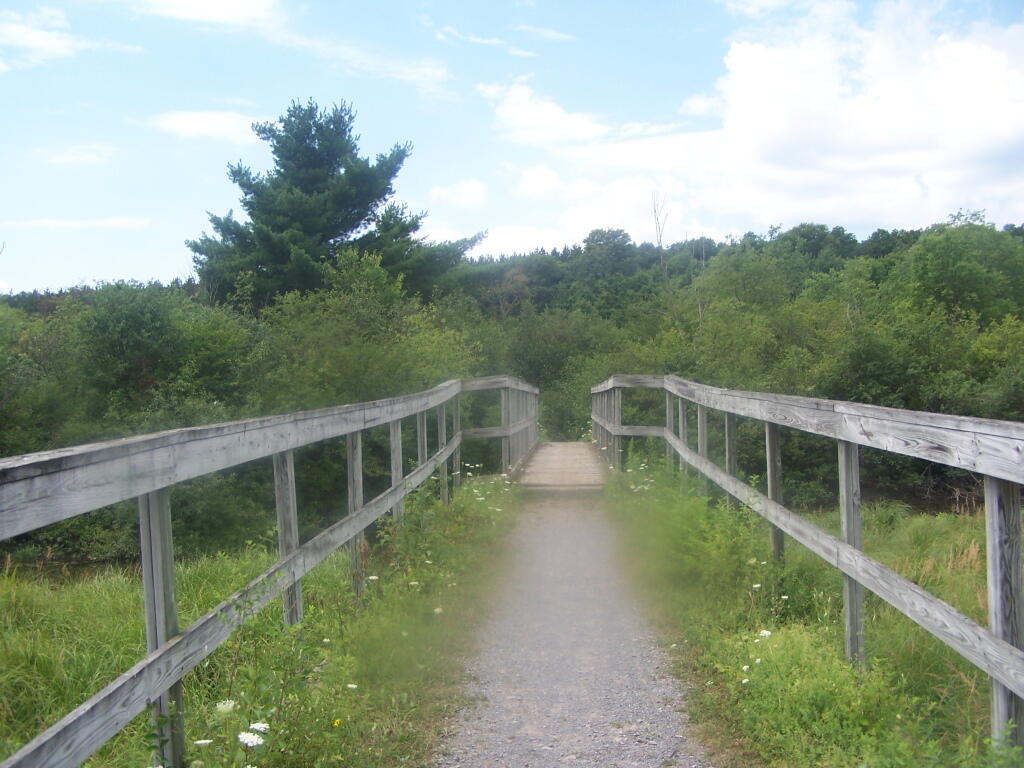
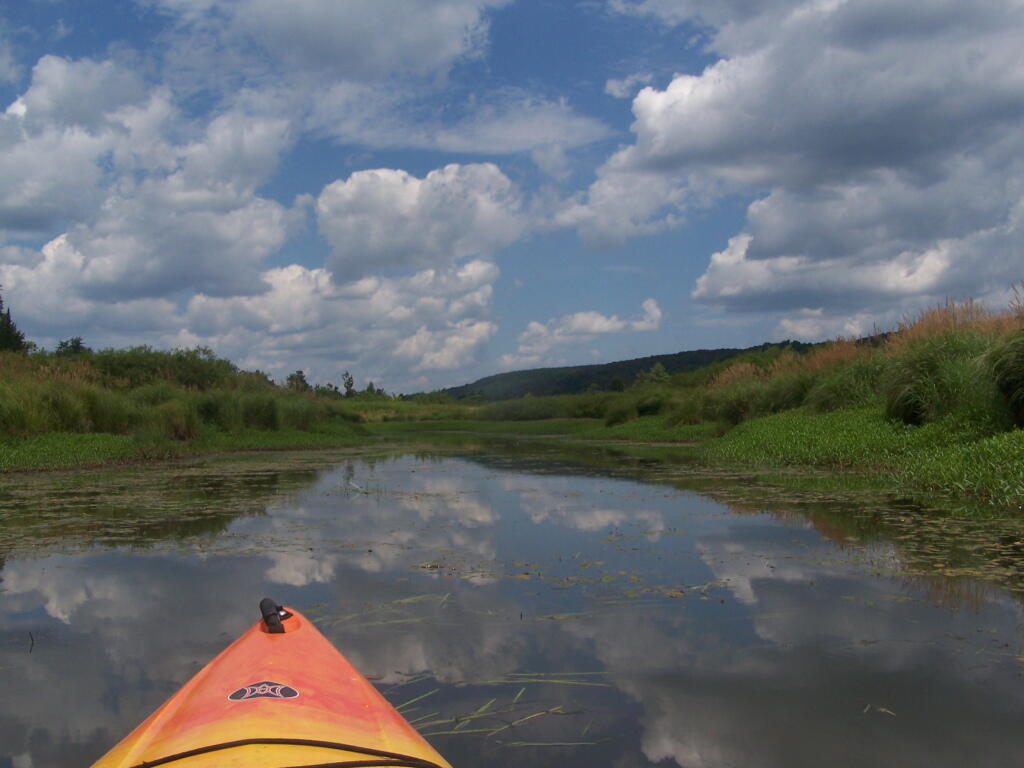
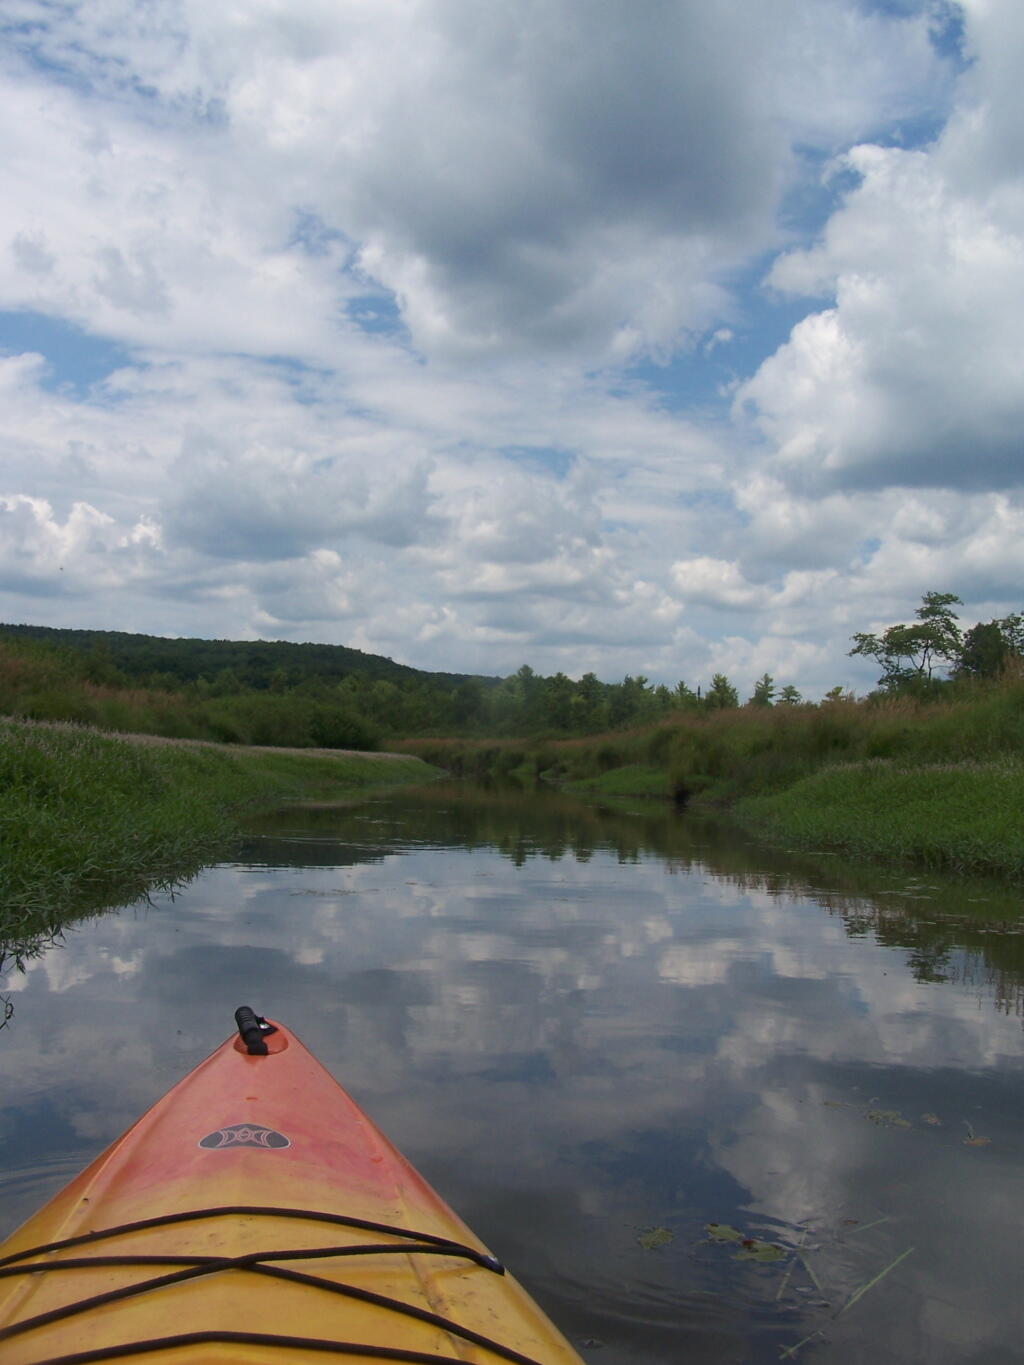
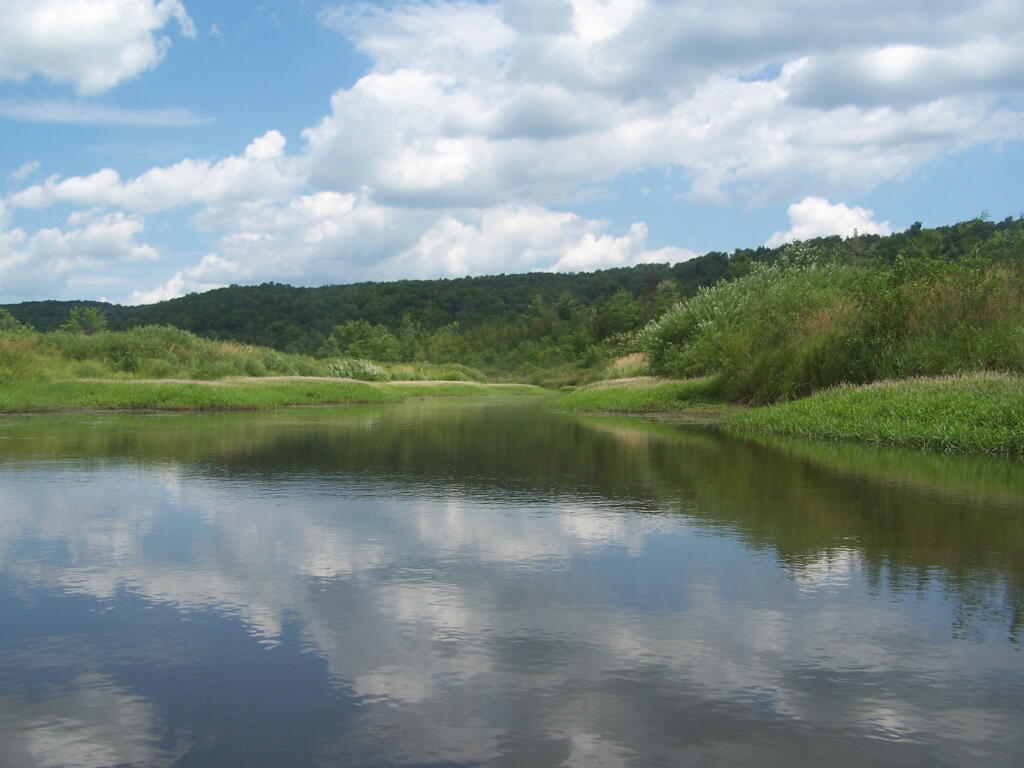
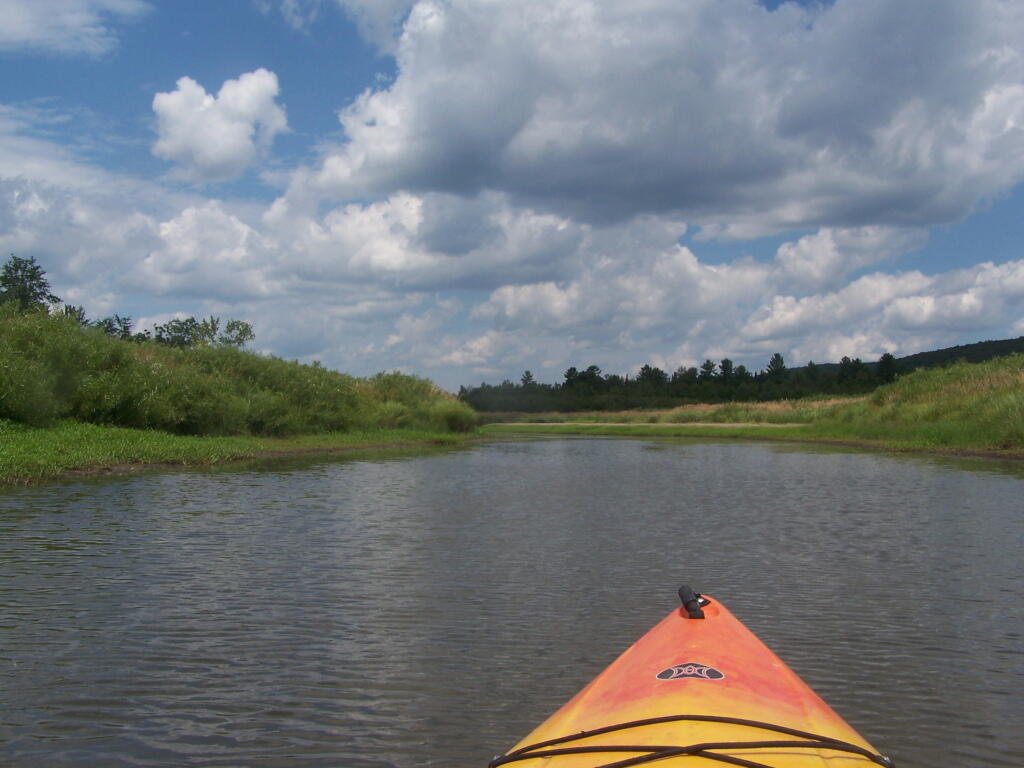
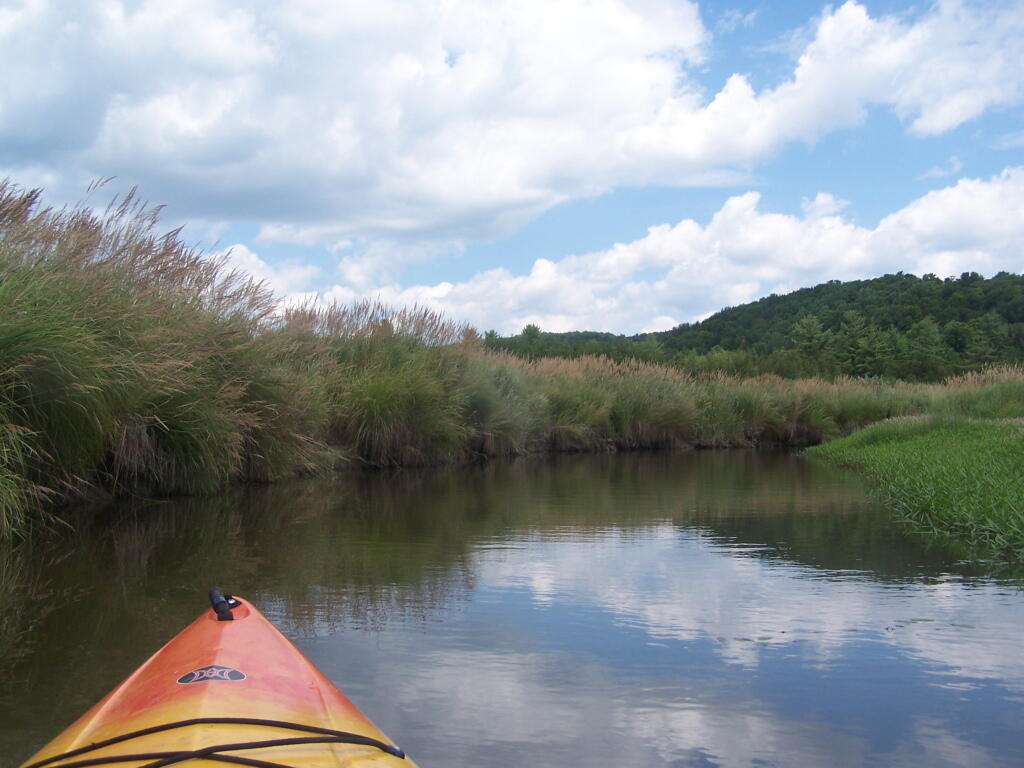
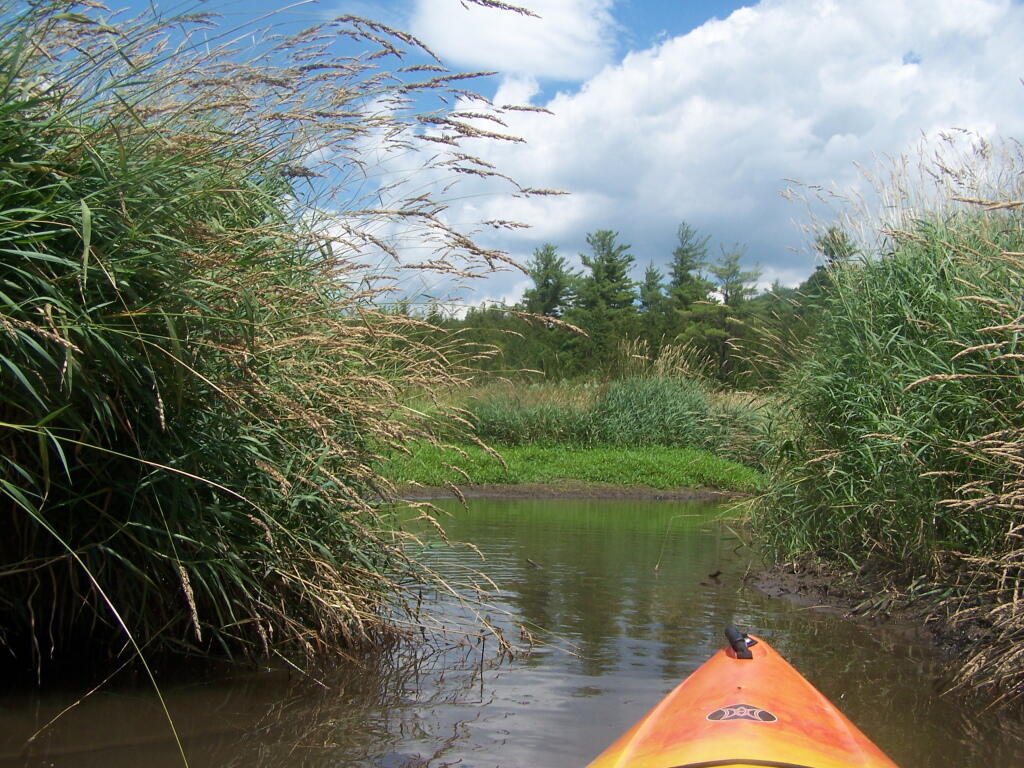
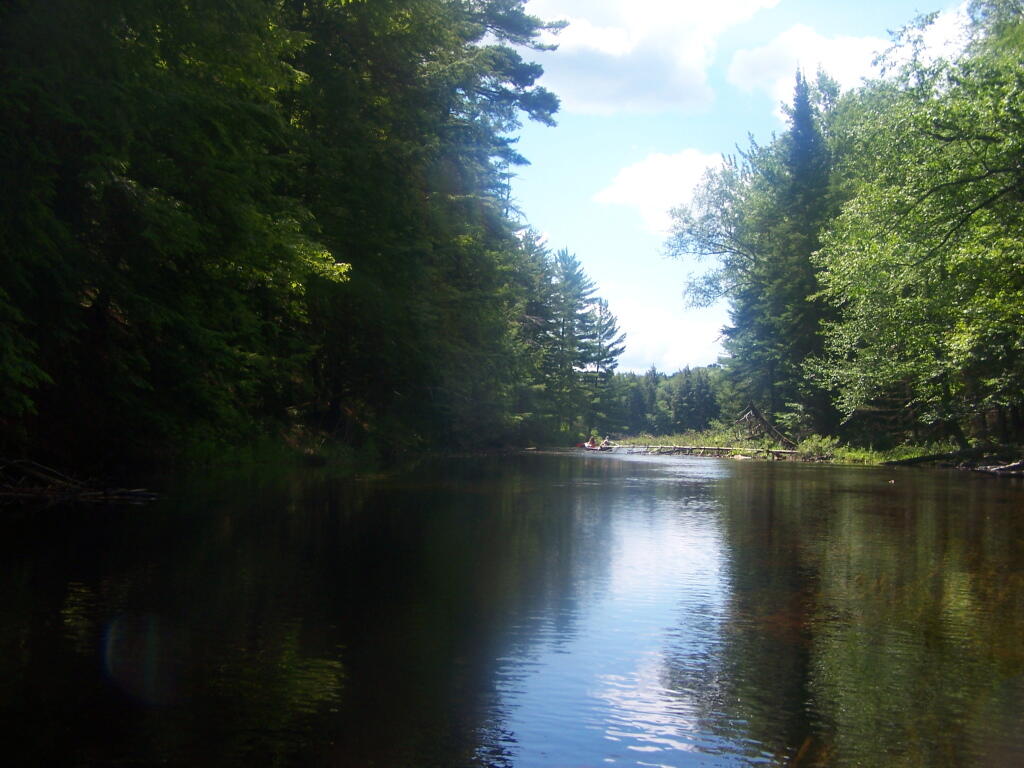
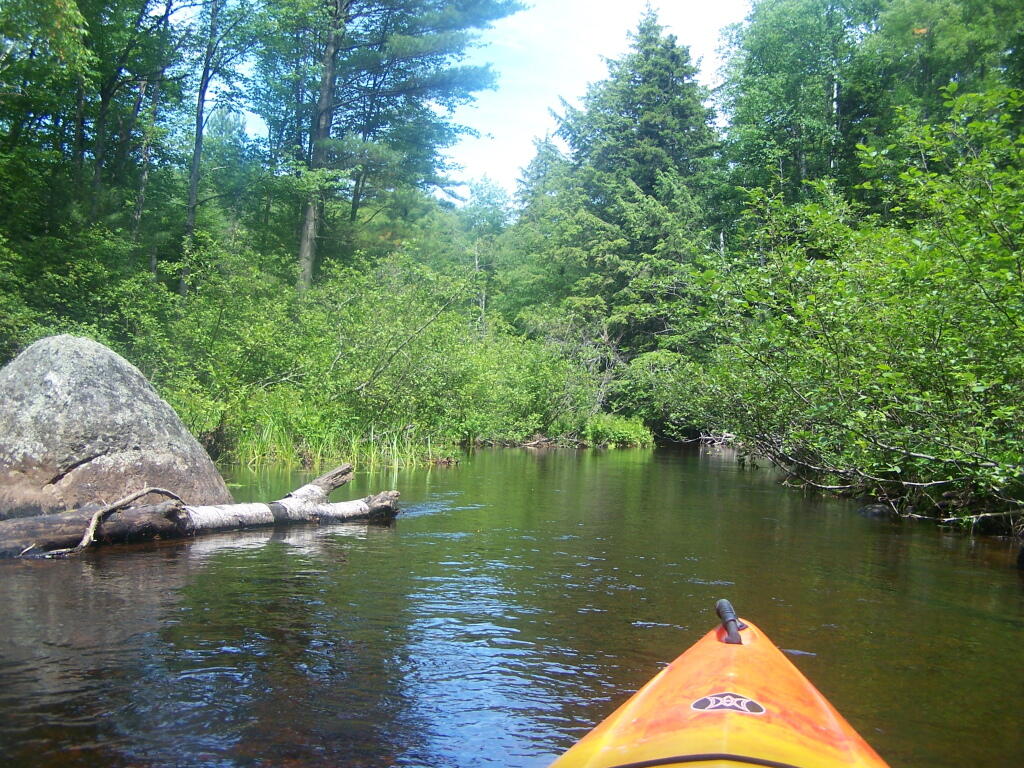
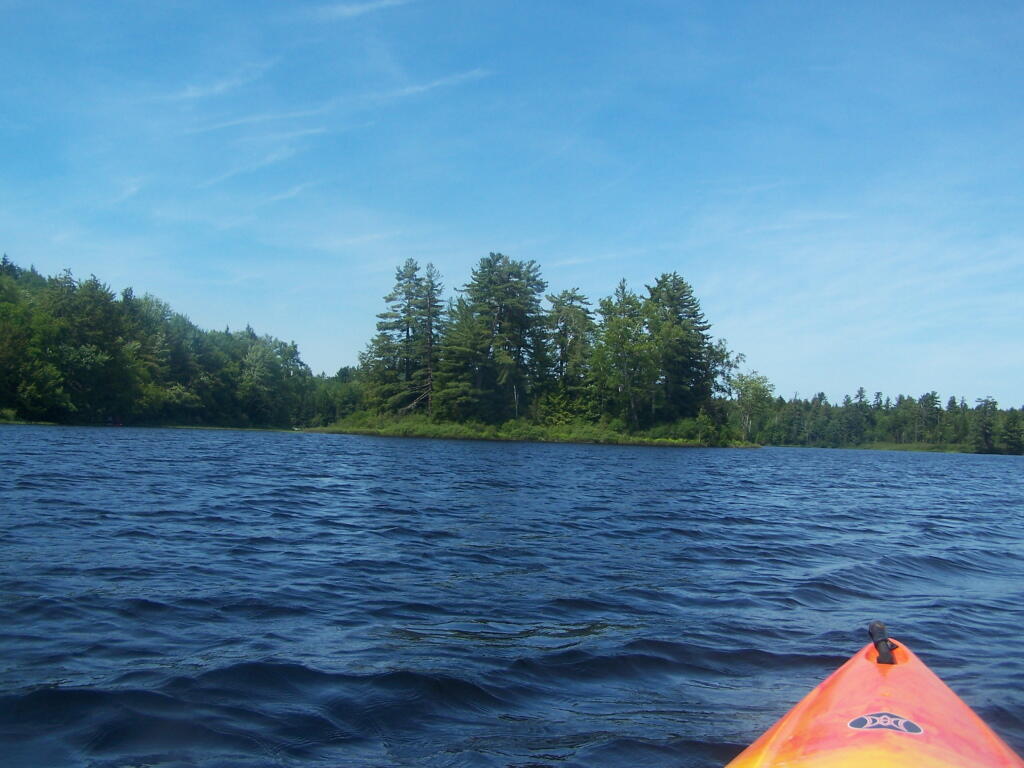
Where is a quiet place to kayak near Cedar Ridge and the Brookfield Horse Camp? Have you ever thought about kayaking the Beaver Creek, from Horse Trail 60 north until the end of the navigable waters?
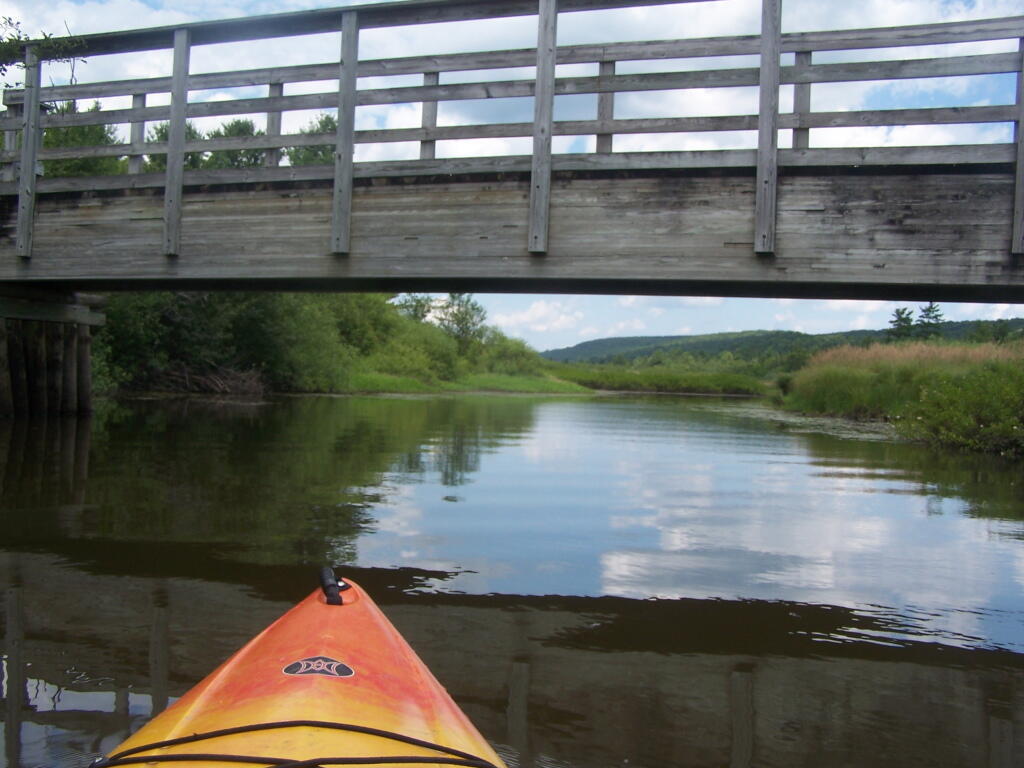
You take Fairgrounds Road north from Brookfield NY, until a first parking area on the left of the road. This is Horse Trail 60. It’s a short portage (1/8 mile) until you reach the bridge crossing the Beaver Creek.
Put in the on the side of this bridge. I did from the east side, through the marshy ground, but you could portage over the horse bridge, then put on the west side, and avoid the marshy ground.
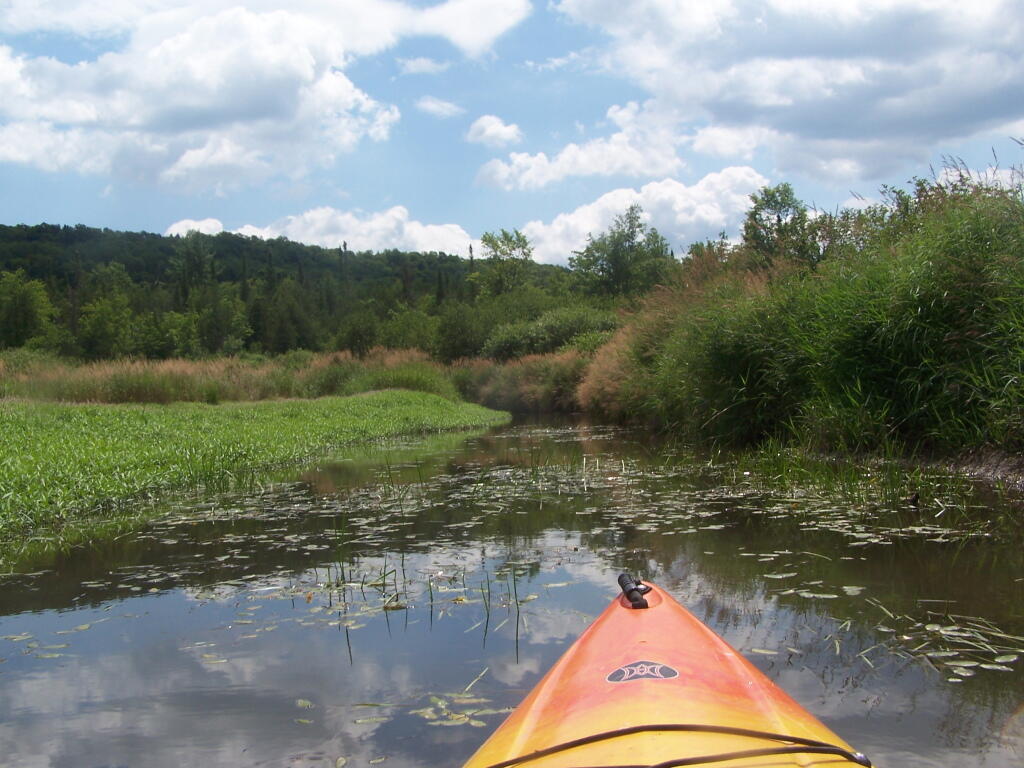
Having a good set of wheels means you won’t have to carry your kayak, but make sure not to drag it on the gravel to avoid wearing holes in your kayak, as I learned earlier this summer.
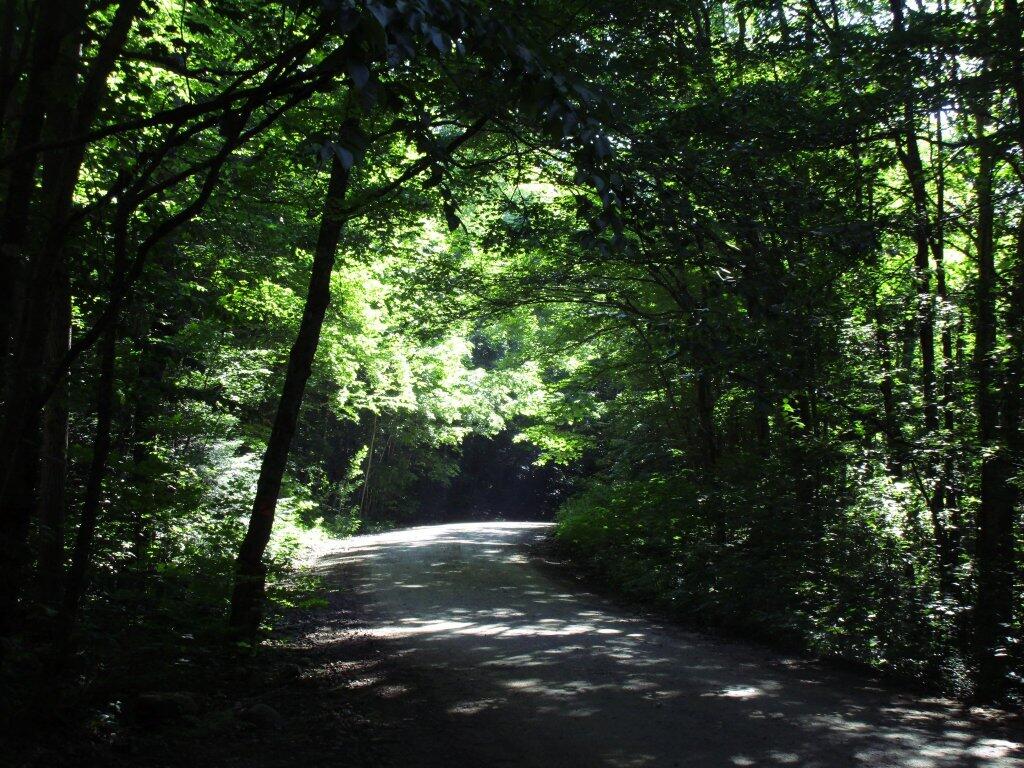
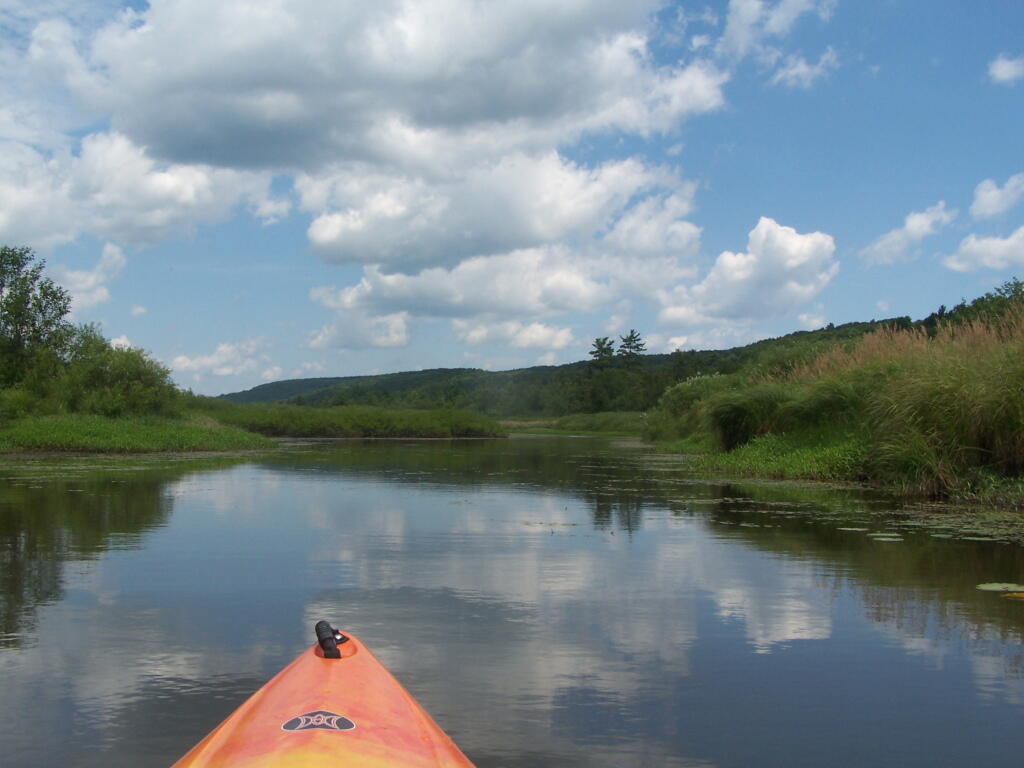
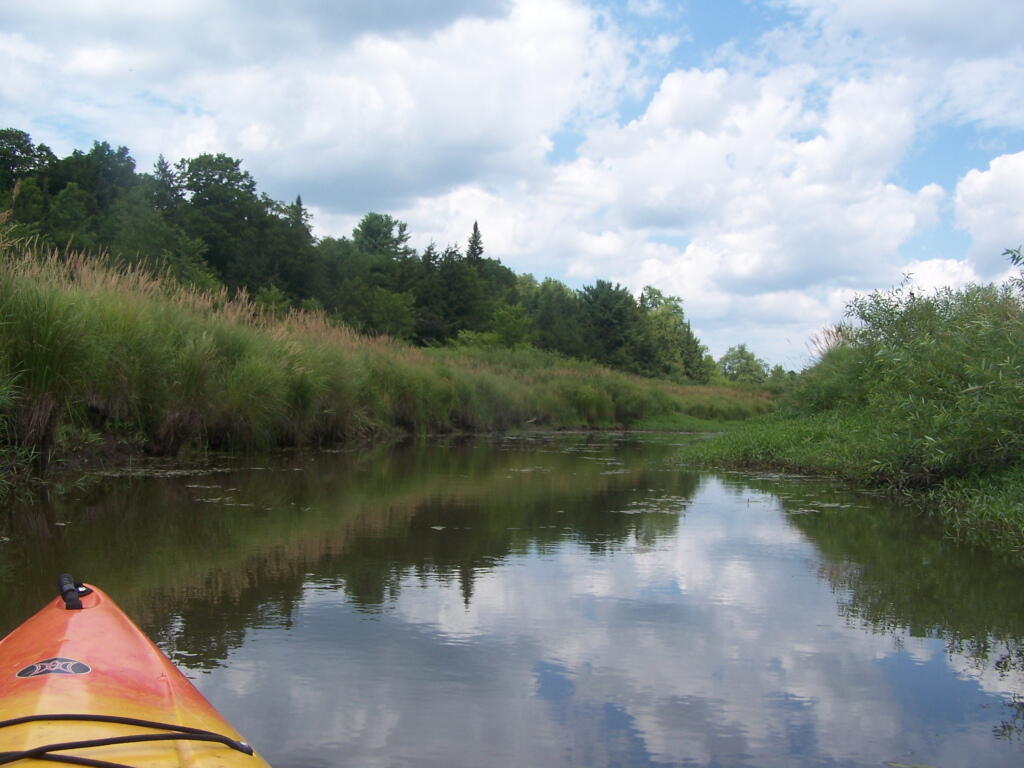
This is a delightful little trip. Do drive the Charles Baker Auto tour, or hike some of the many trails in the area…
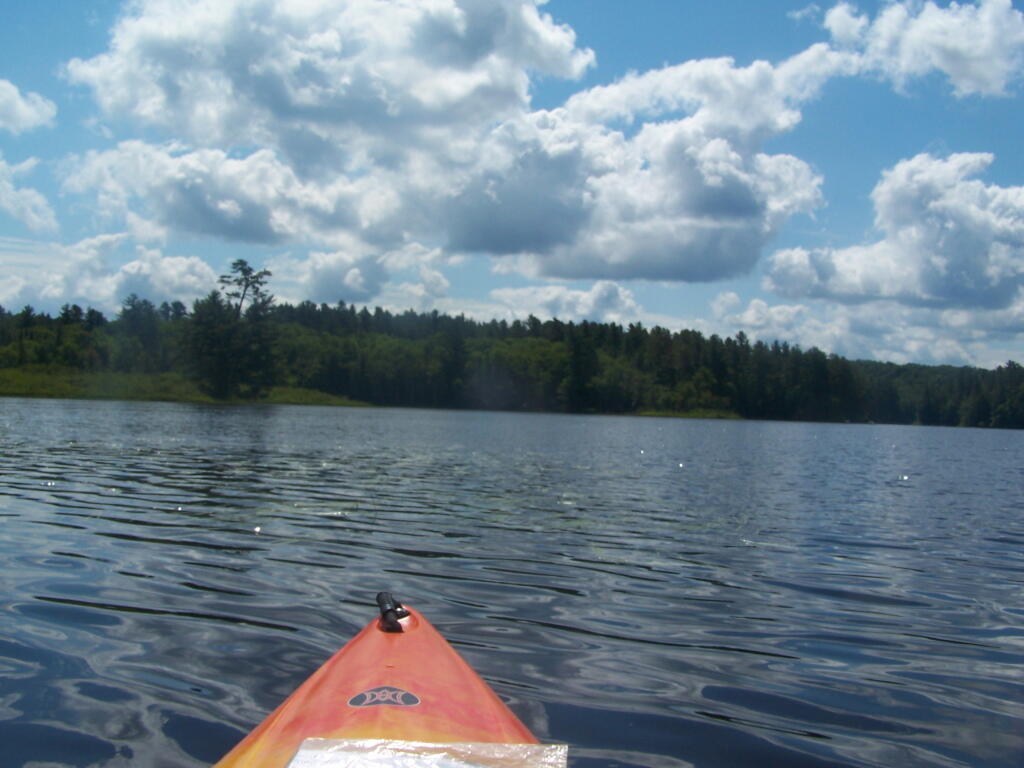
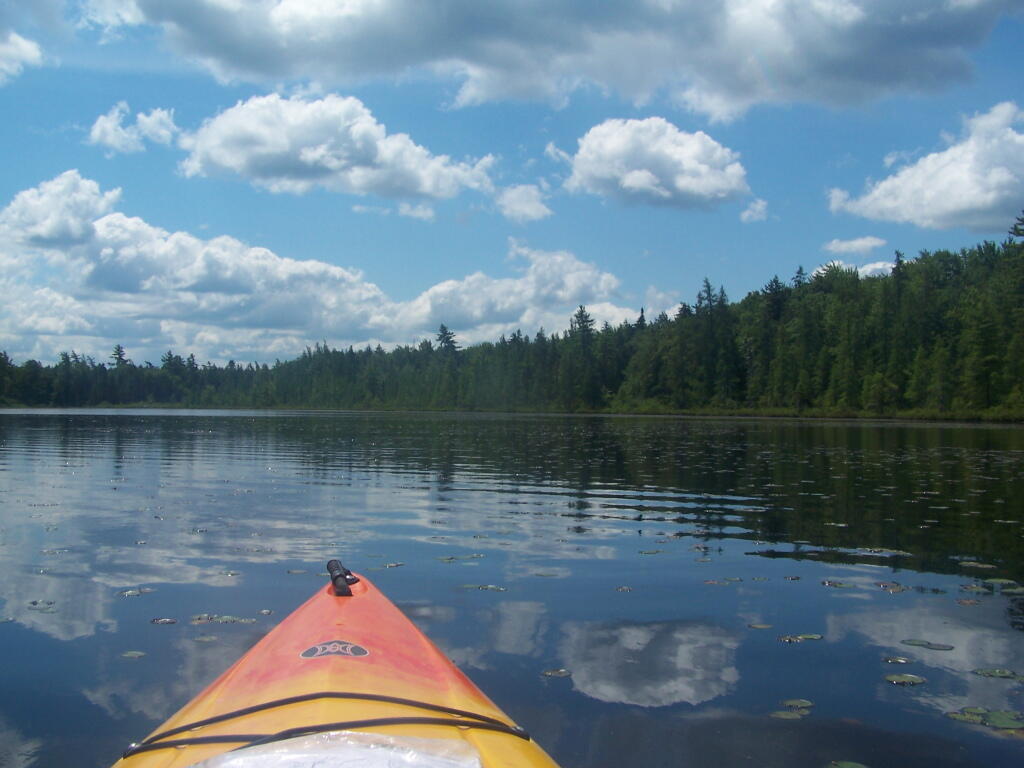
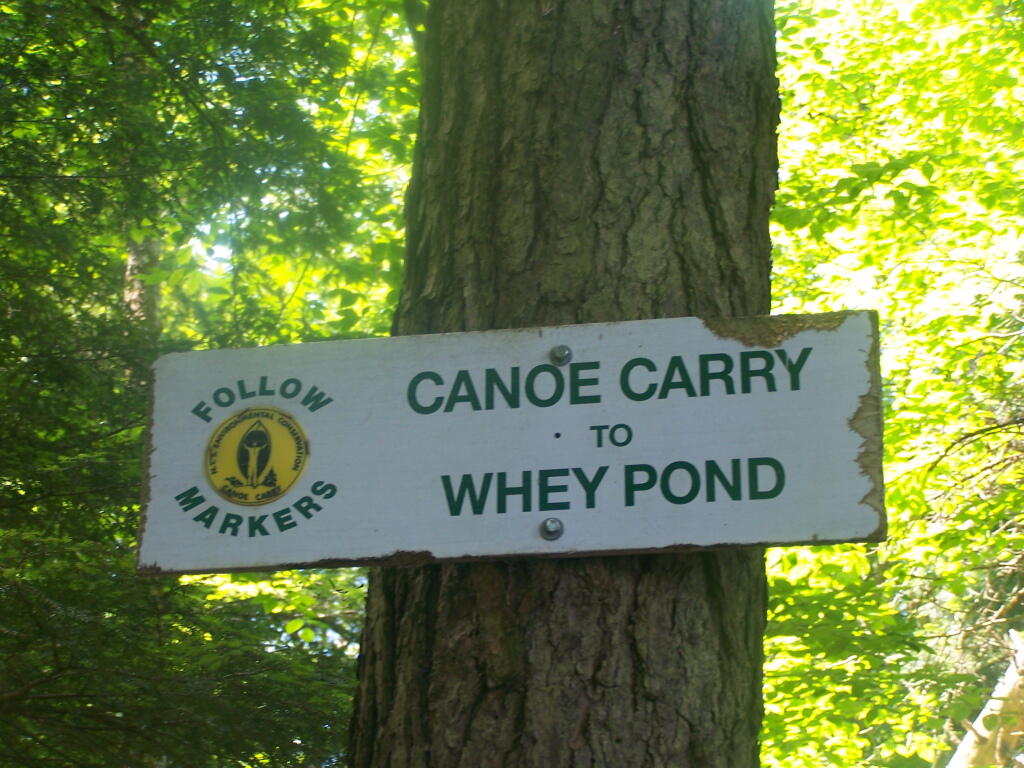
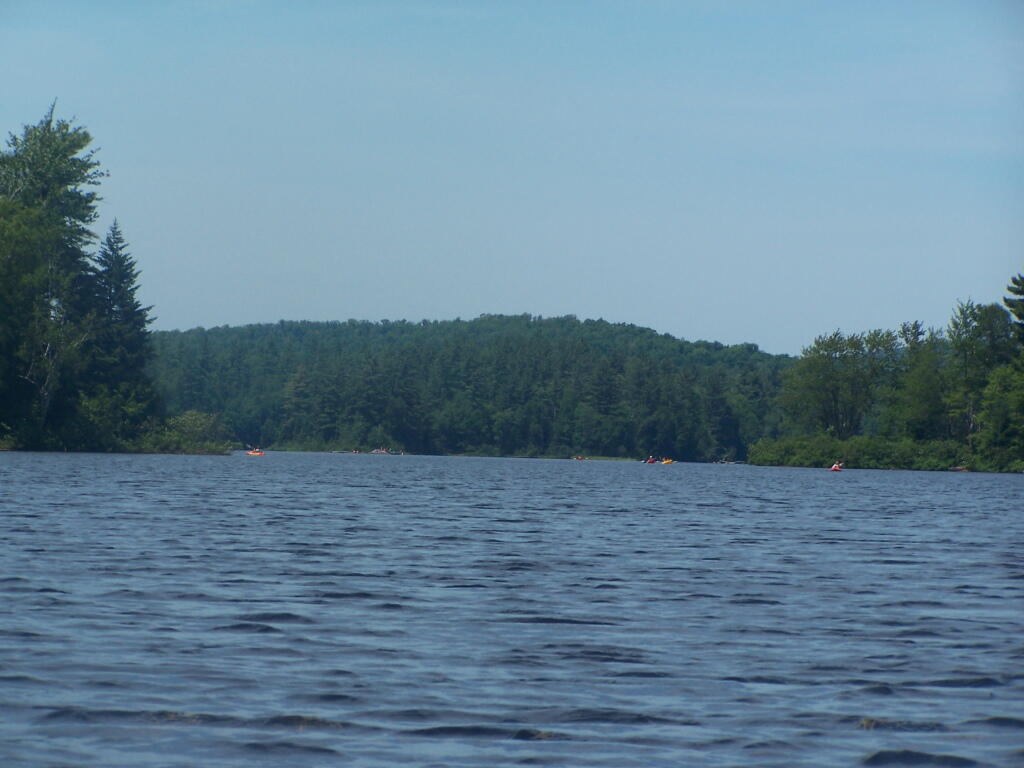
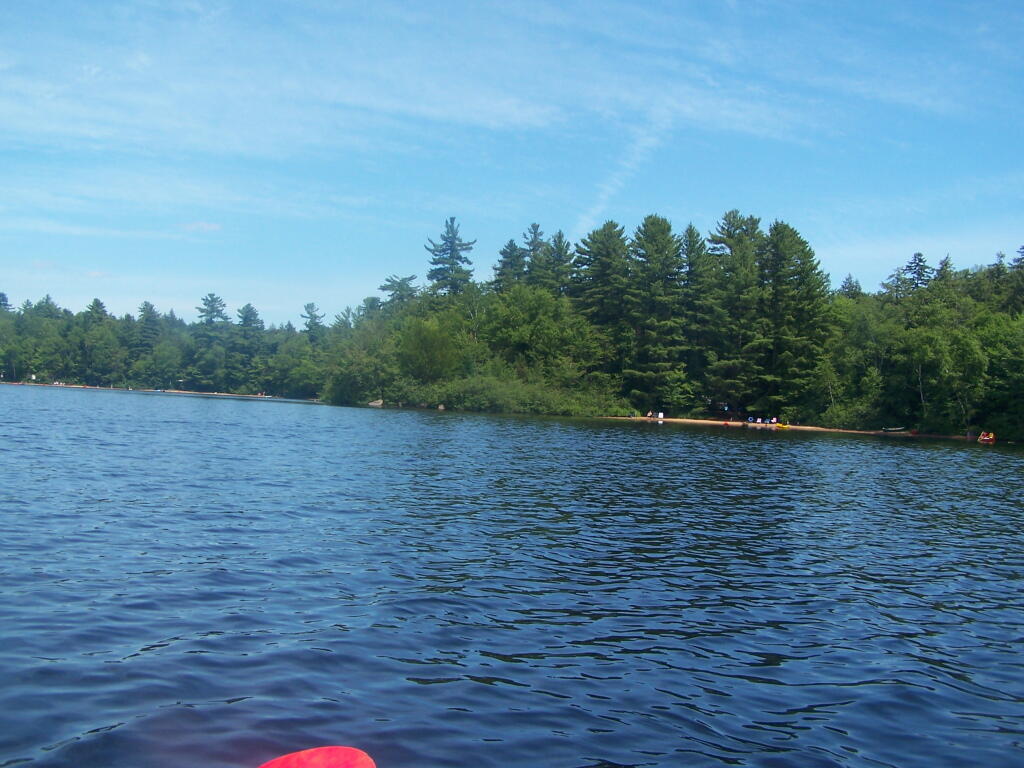
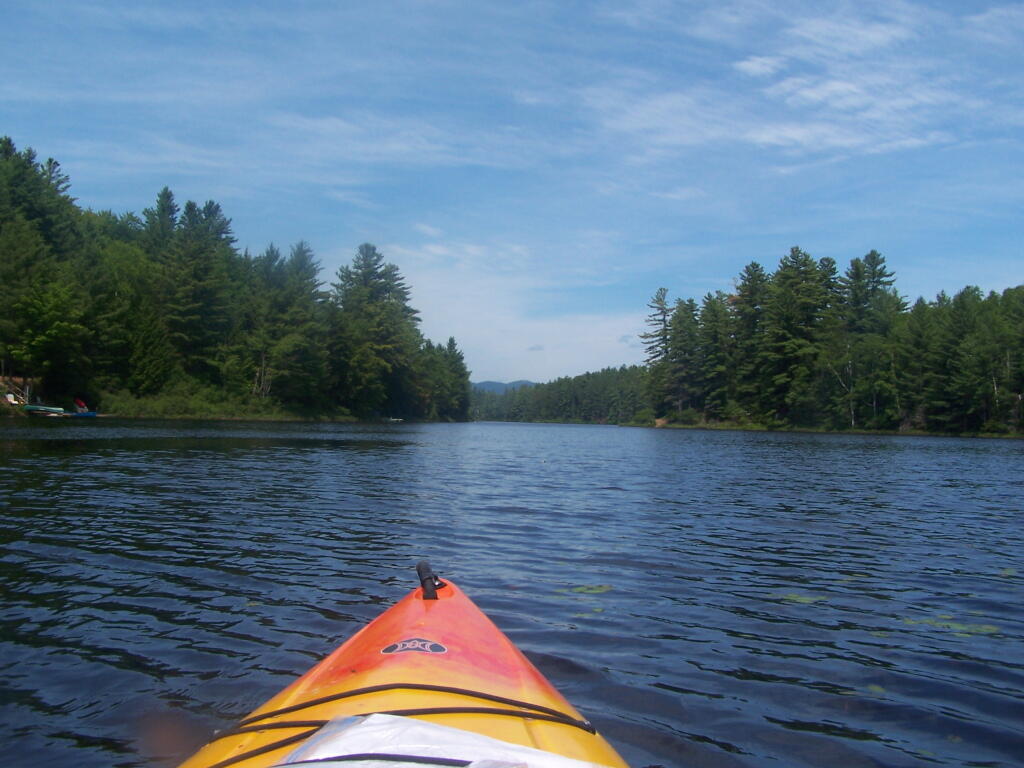
On a nice weekend, expect many people to be joining you on the ever popular Floodwood Loop in the Saranac Lake Wild Forest. While technically not part of the Saint Regis Canoe Area, this area is considered part of series of ponds that makes up this area, and this loop is the most popular of all the canoe routes in this area.
Alternatively, take a look at this Google Map of the loop. Balloons are designed campsites, there are no charge to use these sites. Red lines are portages and other trails.
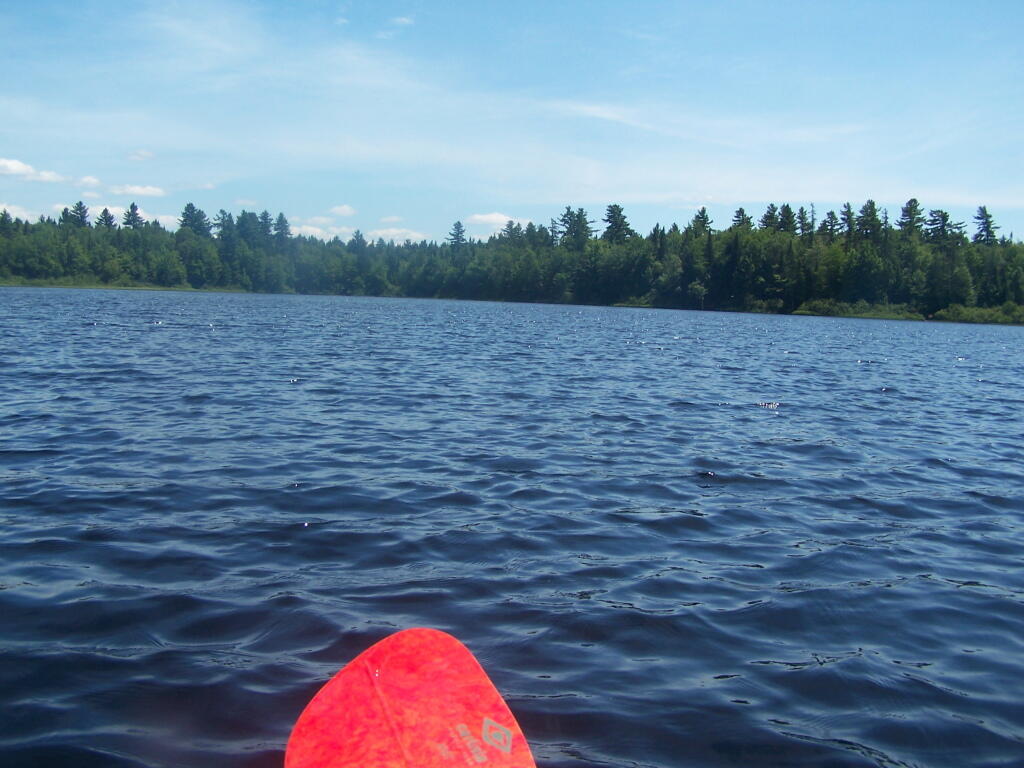
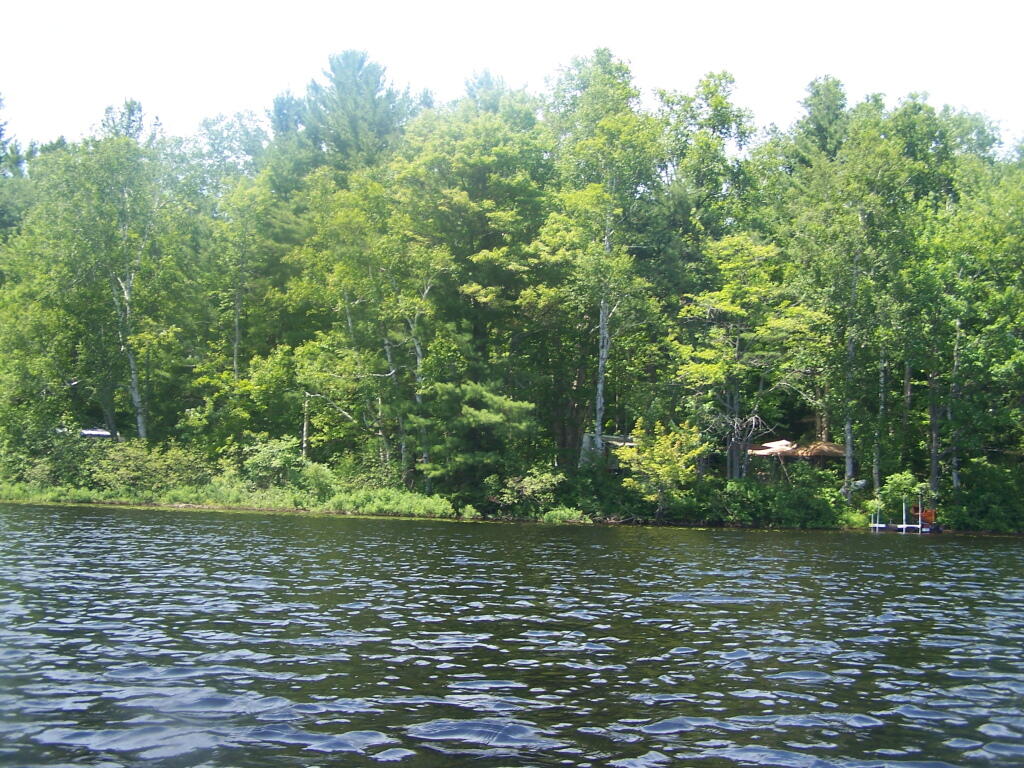
At around 10 AM I headed out. Bright sunny day, a lot of glare. None of the ponds are paticularly large.
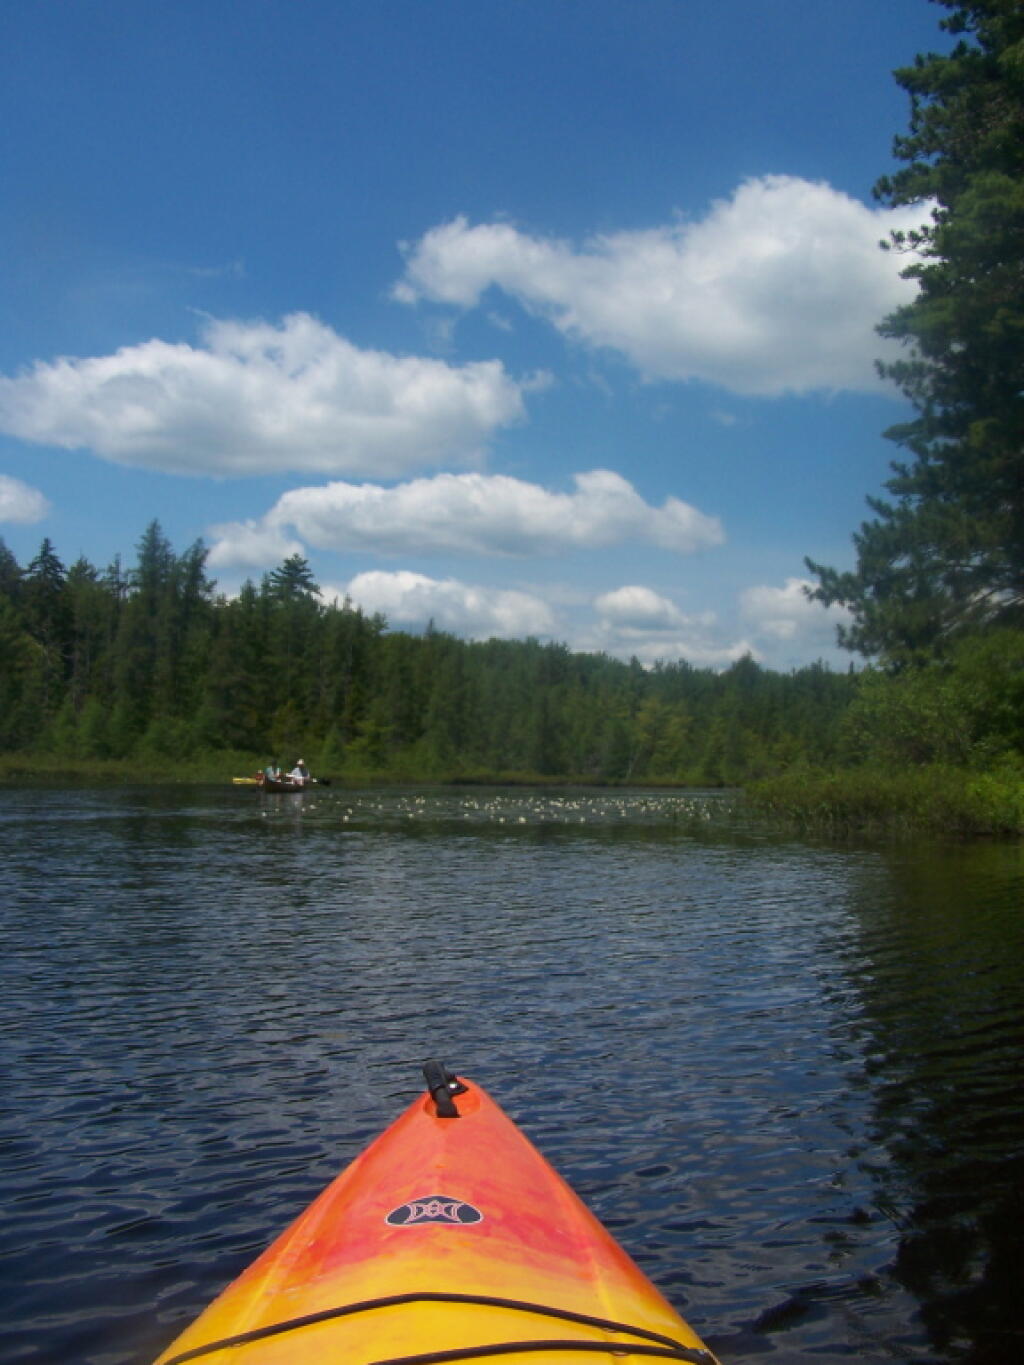
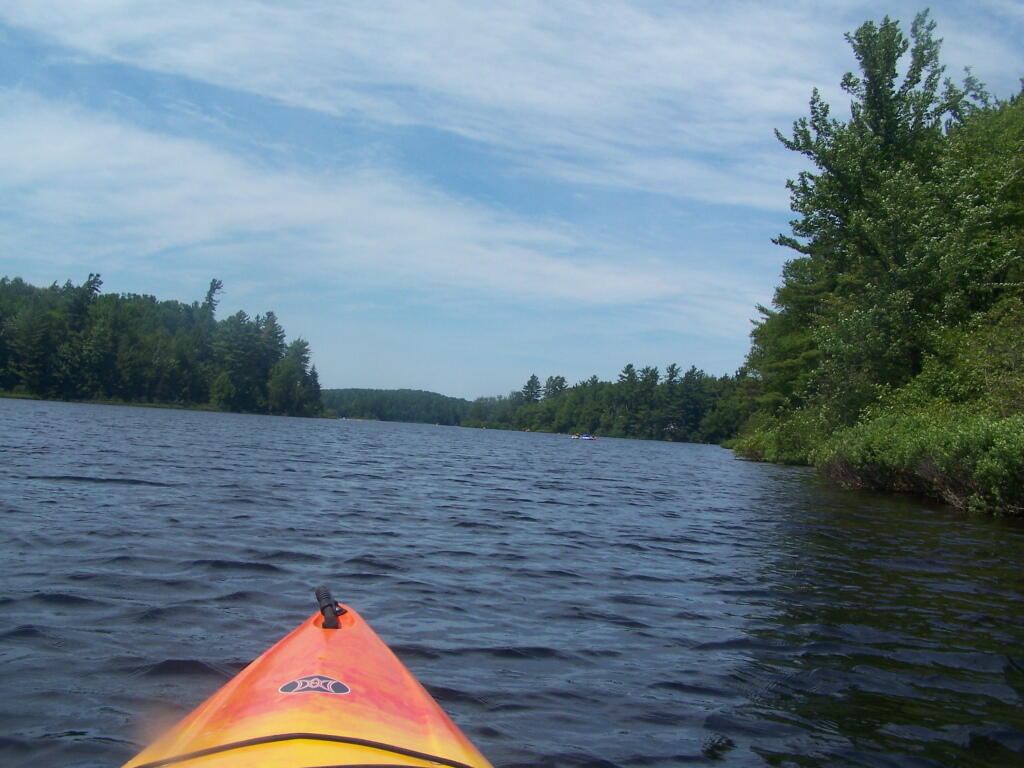
The Fish Creek between the ponds is quite narrow, and don’t be surprised if you hit some traffic. In parts the current can be fairly swift, although one can still paddle up or down stream with relative ease, just avoid the other boats.
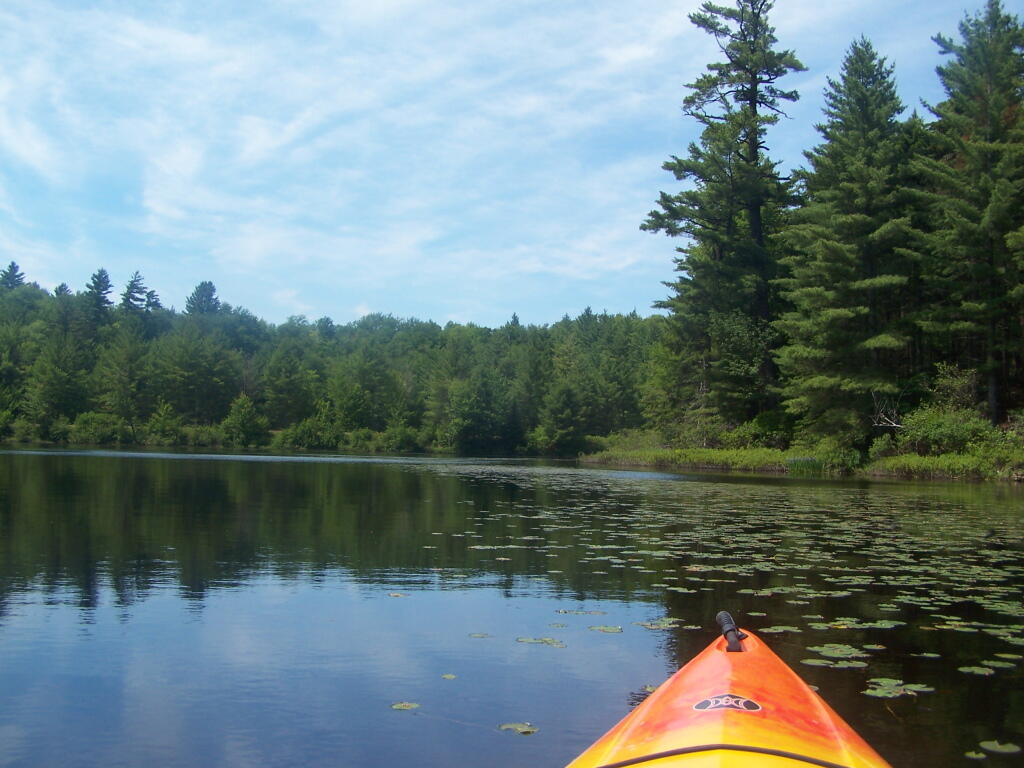
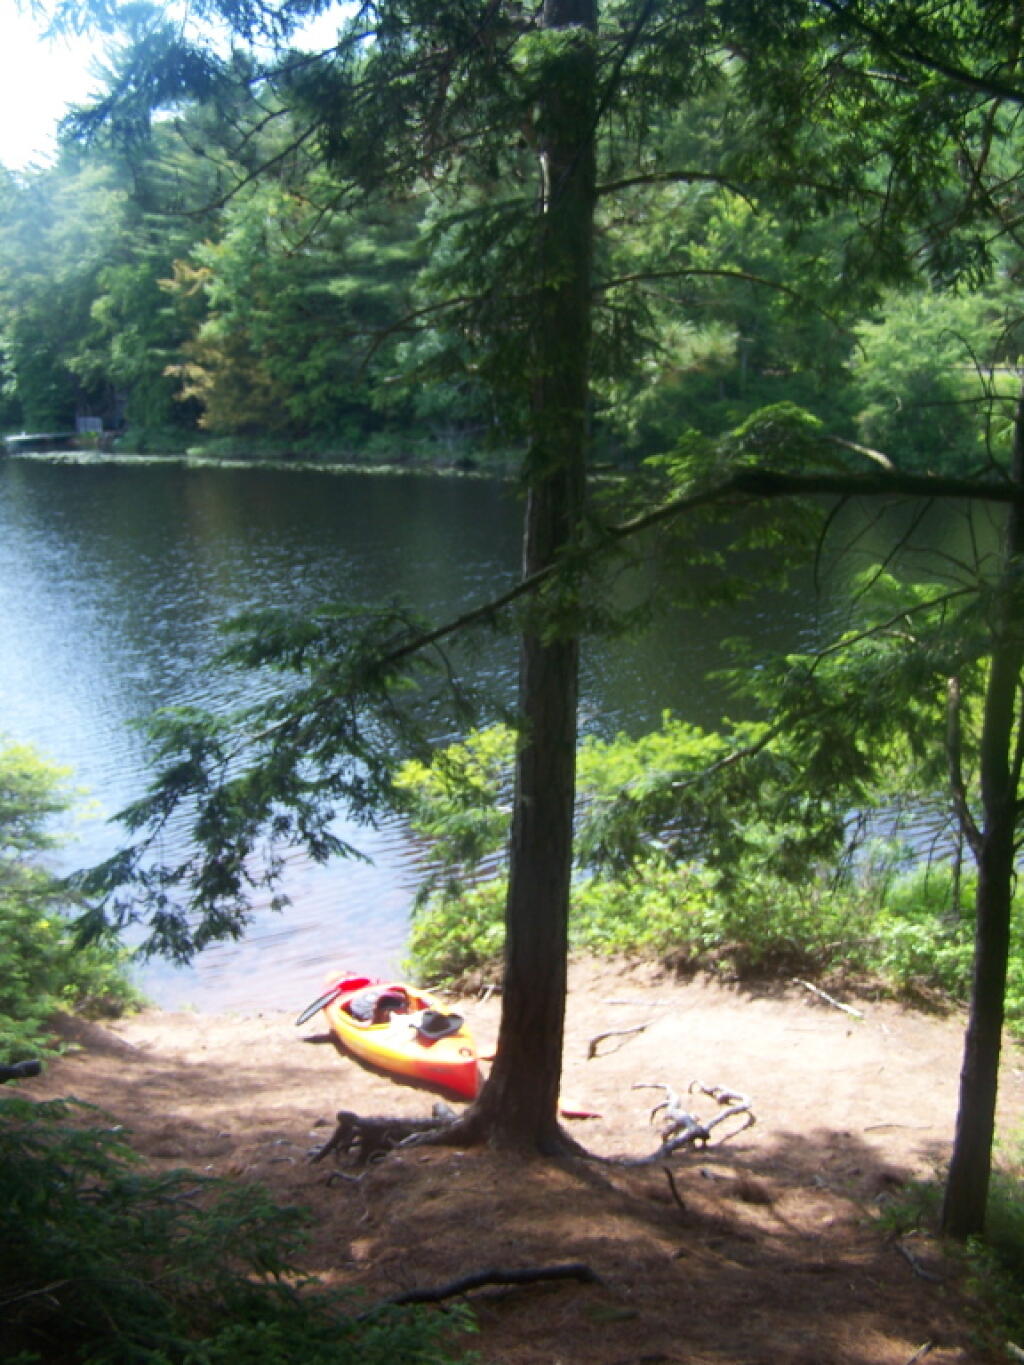
There is a 1/4 mile portage between Copreas Pond and Whey Pond. Despite being mostly sandy soil, with some roots, do NOT drag your kayak, if you want to avoid putting holes in it, as I learned the hard way.
There also is another short portage over a road, and through the Rollins Pond Campground, after you leave Whey Pond.
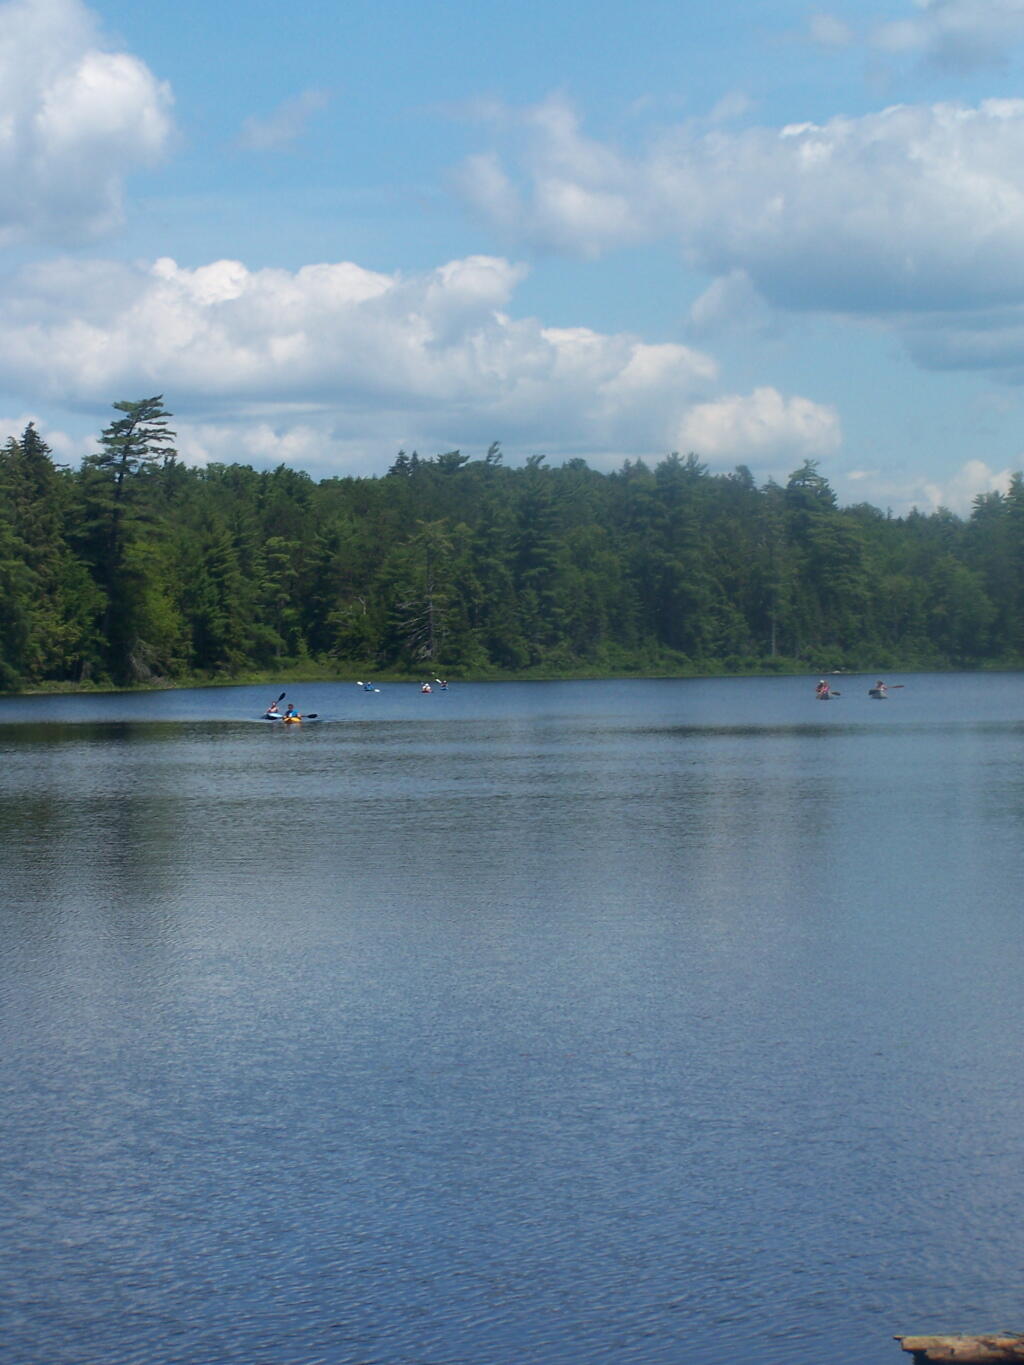
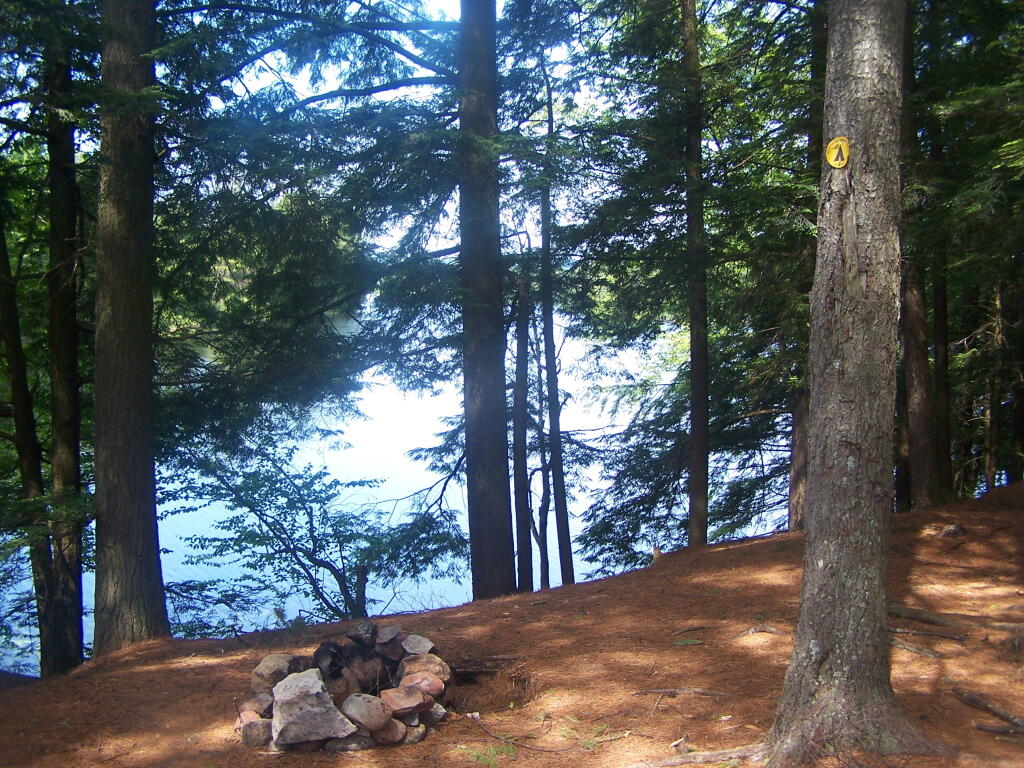
Overview of the Saint Regis Canoe Area, including other ponds and all of campsites.
And if you prefer roadside camping with a trailer or pickup truck cap, take a look at these sites.
… I hope you enjoyed these pictures and maps from the Floodwood Loop.
For wiring in my system, I use two sets of surge strips. One is plugged in the cab of the truck, directly to the inverter. This is used for charger and cords I want in the cab. When parked and camping, I then use a 12 foot extension cord / lead lamp cord, to run power out to the bed. There is another surge strip plugged in there. From there, is were I plug in all the appliances to the bed, along with the two other lead lamps that I use when camping.
Compact Florescent:
My Set Up & What You Need to Know.
Whether or not you believe in global warming or the price of your utility bill, compact fluorescent are a technology you want to embrace when truck camping. Truck battery technology — whether or not you have a deep cycle or starting battery is limited in the amount of current it can retrieve, prior to requiring you to start up the truck and generate more current.
Low-cost, high-efficiency compact florescent lighting (CFL) is the most important invention when it comes to truck camping. You can get a lot of light on your campsite using CFL technology, with minimal battery drain. For example conventional incandescent bulbs versus florescent lighting:
40 watt incandescent = 9 watt florescent
(50 watt incandescent estimated output of camp lantern)
60 watt incandescent = 12 watt florescent
100 watt incandescent = 24 watt florescent
You can therefore, produce a lot of light using compact florescent lamps compared to camp lanterns. You can have the best lit campsite around town! I swear any time I camp at Moose River Plains, people wonder why my campsite has so much light.
I typically use two lead lamps I bought at home depot for $9 with 24 watt florescent bulbs. The fixtures are rated for 75 watt incandescent bulbs, but with the cooler and lower energy consuming florescent bulbs, you can get more light output out of these fixtures then you normally would. Moreover, your saving your battery by the lower electricity consumption.
For inside the truck cap, I use a desk/reading lamp outfitted with a 9-watt compact florescent light. I have used bigger lamps, but under in the intimate space of the truck cap, you don’t need more light for reading other activities. Why waste energy, that you can conserve, and avoid having to start the pickup on up?
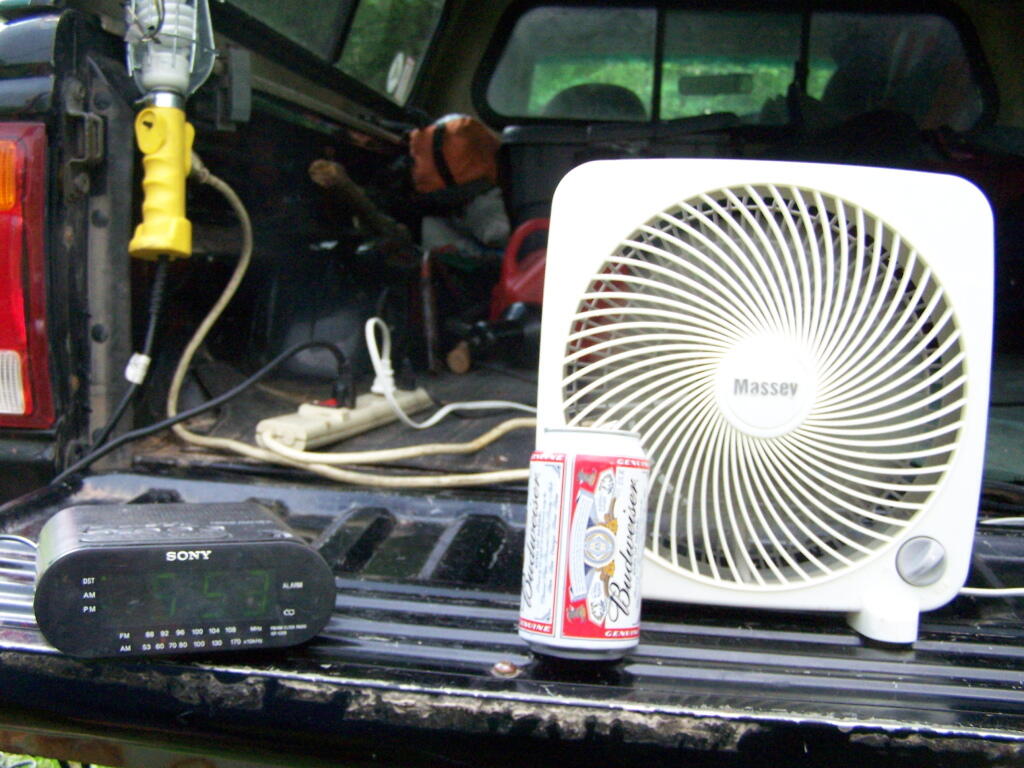
Other Electrical Appliances.
When I’m camping, I always bring a portable (desk) fan, a clock radio/alarm clock. I also often bring my laptop, charger, along with chargers for things like my mp3 player, cell phone, and portable weather radio. I could also bring more devices, and indeed I have plenty of current with an 800 watt inverter (remember 742 watts = 1 horsepower) to power almost anything within reason I could bring camping.
The Truck Radio:
One Other Appliance Not to Forget.
While the truck’s radio is built into the truck, it can be a great source of entertainment. Just roll down the windows, and crank up the tunes up! Be aware however that the radio uses a lot of electricity compared many of the appliances you might plug into your inverter.
ou might find it more energy efficient (meaning less idling the truck), if you get a portable boombox that you can plug into the truck. Many use a lot less wattage then a conventional car radio, and you can direct the sound where you want.